I have a weakness for pasta, all types, so marinara comes in as a close second. Although one of the more time-consuming canning processes, it is definitely worth it. Whenever I make marinara, I feel like the ultimate wife. I mean I’m making our food … how cool is that? Heads up, though, it is a hot process and curly hair doesn’t fair too well, making you sometimes look like the haggard wife. But, sacrifices must be made.
I worked through several batches before I really got the hang of it, so hopefully these directions will be helpful and you won’t have any bad batches before you get to the good. Don’t be afraid to taste and adjust as you get into the final stages. You’re going to be putting it on YOUR pasta, so you have to like it!
Marinara Sauce
Equipment:
-
Large sauce/soup pot
-
Canning pot with rack on bottom
-
Can lifter
-
Food mill
-
Quart or pint jars, lids, and rims—make sure to sanitize all by running the jars through dishwasher and dipping rims and lids into boiling water
Ingredients:
-
Approximately 50 plum/Roma tomatoes—more would never hurt
-
1 yellow onion
-
4 cloves fresh garlic (add more if you like a more garlic taste)
-
1T dried oregano
-
1T dried basil
-
2 stalks fresh basil—don’t take leaves off stalks
-
1 cup dry red wine
-
Sugar to taste
Directions:
-
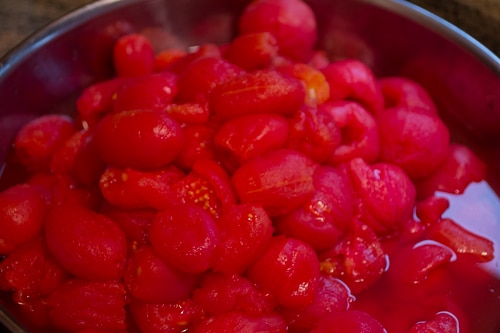
Take your tomatoes and drop them into boiling water for no more than 2 minutes. This helps in the peeling process.
-
Peel tomatoes. Cut off any bruised parts. Cut into halves or quarters.
-
Fill large pot with peeled tomatoes; leave 1” at top of pot.
-
Cook the tomatoes down for 20–30 minutes or until everything is mushy.
-
Take cooked-down tomatoes* and in small batches put through food mill. (*Once tomatoes are cooked down you can keep covered and stored for 1–2 days before going onto next step.)
-
Thinly dice onion and lightly sauté.
-
Put milled tomato sauce back into large pot with sautéed onions, garlic, oregano, dried basil, fresh basil on stalks and red wine. Let simmer on low heat, stirring occasionally.
-
After about an hour of simmering, taste. If it has that bitter taste, add sugar a tablespoon at a time until you achieve desired taste. I make each pot with a different amount of sugar; it just depends how bitter the tomatoes. When they are a little bitter I end up using about a 1/2c of sugar.
-
Continue cooking down sauce until it gets to the consistency you like your marinara. Again, how long it takes is dependent on the type of tomatoes; it can take up to several hours. If your schedule doesn’t permit, it’s ok to put a lid on it and put in fridge until the next day.
-
Remove stalks of basil from sauce.
-
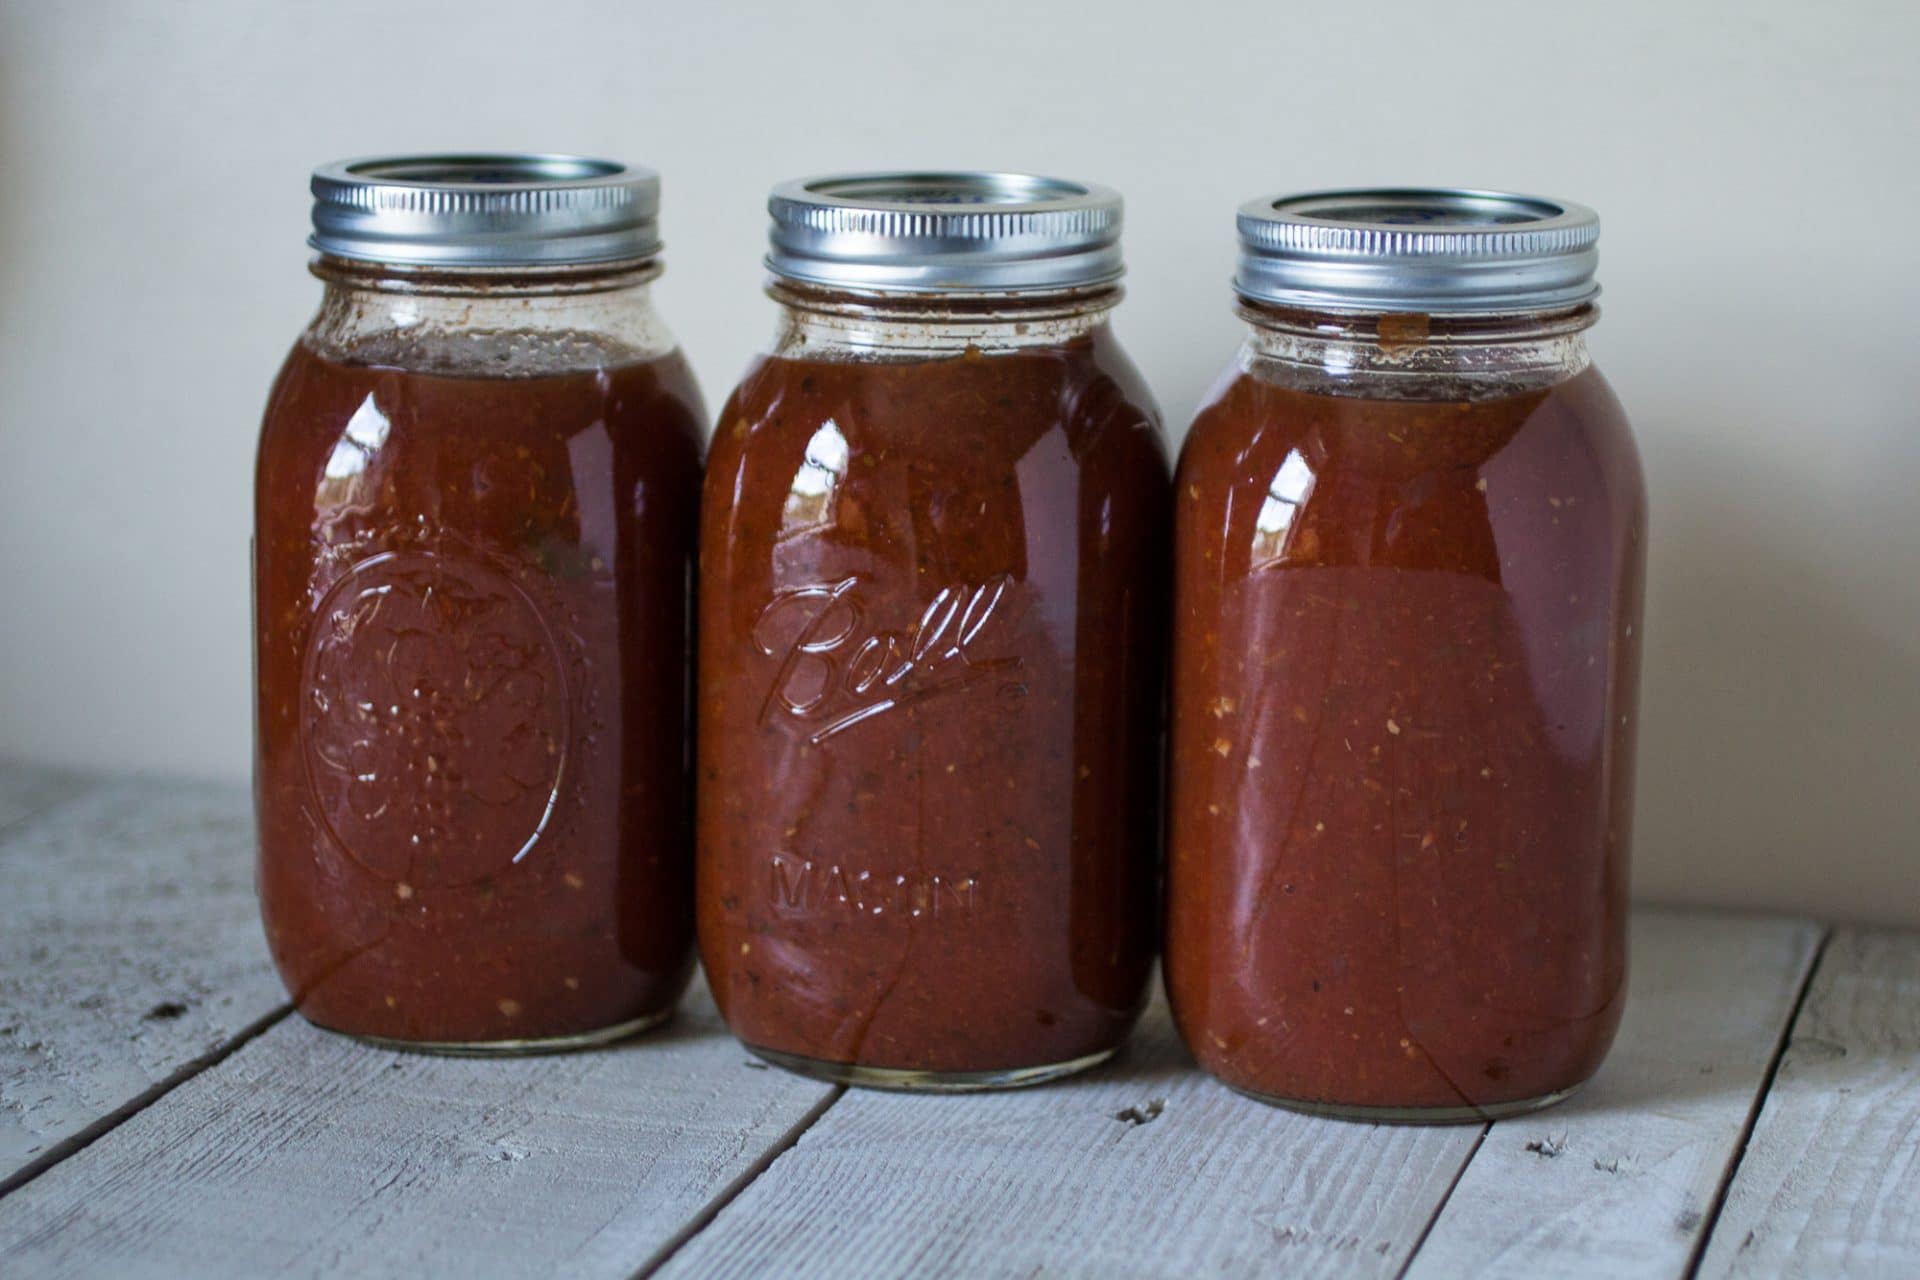
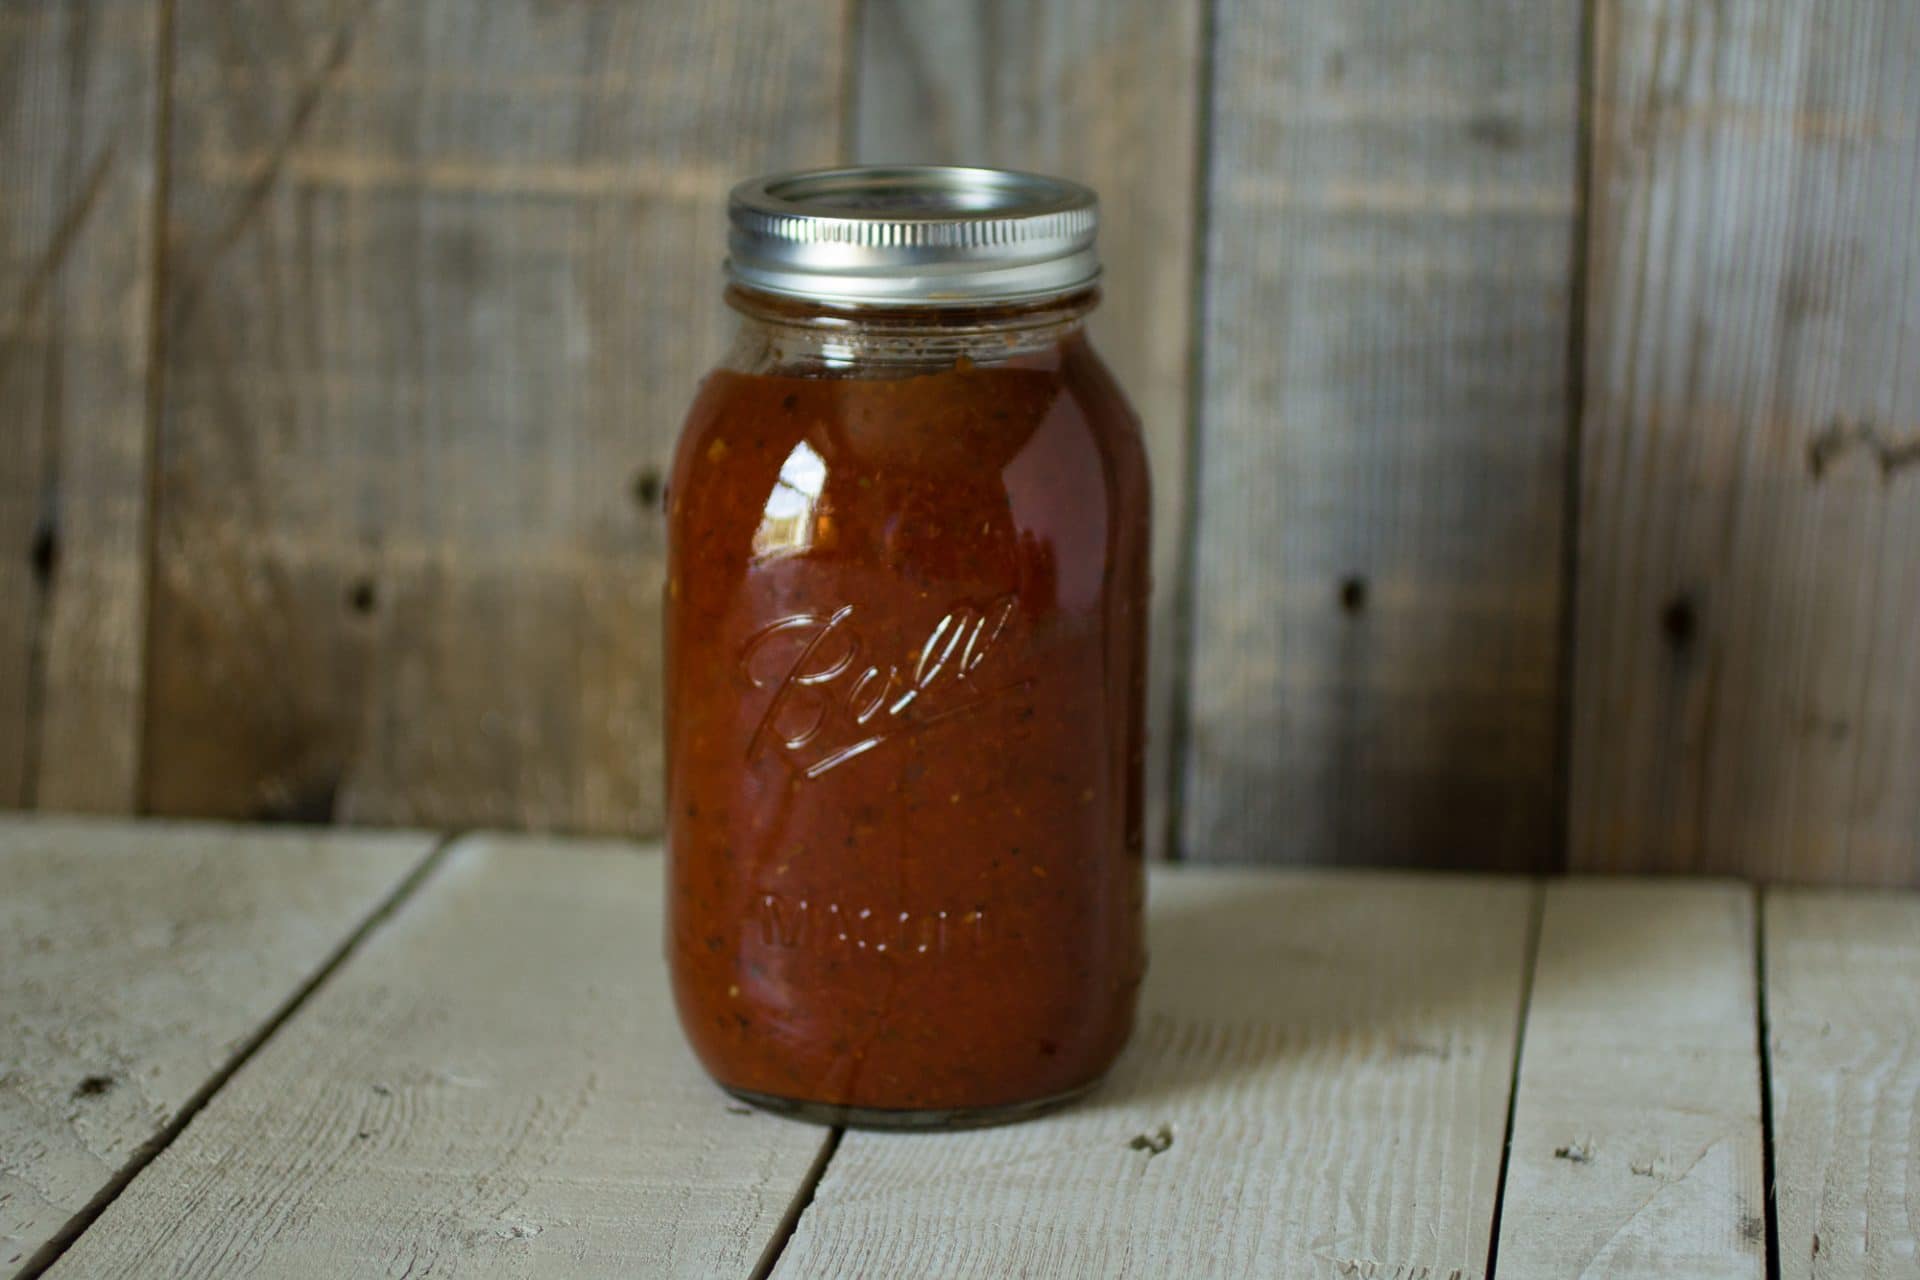
After marinara has achieved your desired consistency, pour into jars. Make sure to wipe off rims, place lids and rims on and tighten.
-
Fill large canning pot with about 6 inches of water to start, turn heat on and let water warm up for a bit. Then place jars in water & make sure top of jars are covered with water; add more water if needed. Cover with lid and let slowly boil for approximately 15 minutes.
-
Use can lifter to remove jars. Sit them on a cookie cooling rack or on towels and let them cool. You’ll hear the lids popping. Make sure to let jars completely cool then label with date.
-
Enjoy!
Note: There are many variables when making marinara, from the quantity of tomatoes and the ripeness of tomatoes to how thick or thin you want your sauce. The key in getting marinara that you actually like is tasting it throughout the whole process. Don’t be afraid to veer from the recipe to get desired taste.
Hopefully you will give marinara a shot as the summer comes to a close, so that you can enjoy it throughout the year. It’s fun being able to open your marinara that you canned over the summer when there is snow on the ground! Feel free to leave comments or email questions—love to help out a fellow canner!
- Photography: Sarah Kudlack


2 Comments