What is it about airports and rest stops that give you instant junk-food cravings? The best laid plans to avoid eating garbage seem to go out the window the moment you step into an airport terminal or embark on a road trip. Maybe it’s because there’s too much time to kill and too many cafes and kiosks appealing to our desires to ease the boredom and discomfort of travel.

In addition to being over-processed and overpriced, the worst part about food in airports and at rest stops is that after you’ve eaten it, you’re just sitting around, stuck in place, feeling dehydrated and weird. It’s not a good setup. Even the most stalwart clean-eaters out there can fall prey to trashy travel snacks.
Instead of relying on common sense or willpower (both of which seem to evaporate in airports), stave off the urge to buy junk food on the road by packing your own snacks. It sounds simple enough, but BYO travel snacks can fall to the bottom of the priority list when you’re running around like mad, trying to pack everything else for a trip.
Here are our favorite TSA-approved, nutritious DIY travel snacks. They’re a cinch to assemble using ingredients you might already have on hand. They pack up neat and easy, don’t leave you with a lot of trash or packaging, are mild in the smell department (as to not offend your neighbors), and they’ll leave you feeling full and satisfied — not bloated and sluggish — during your travel adventure.
Protein Packs

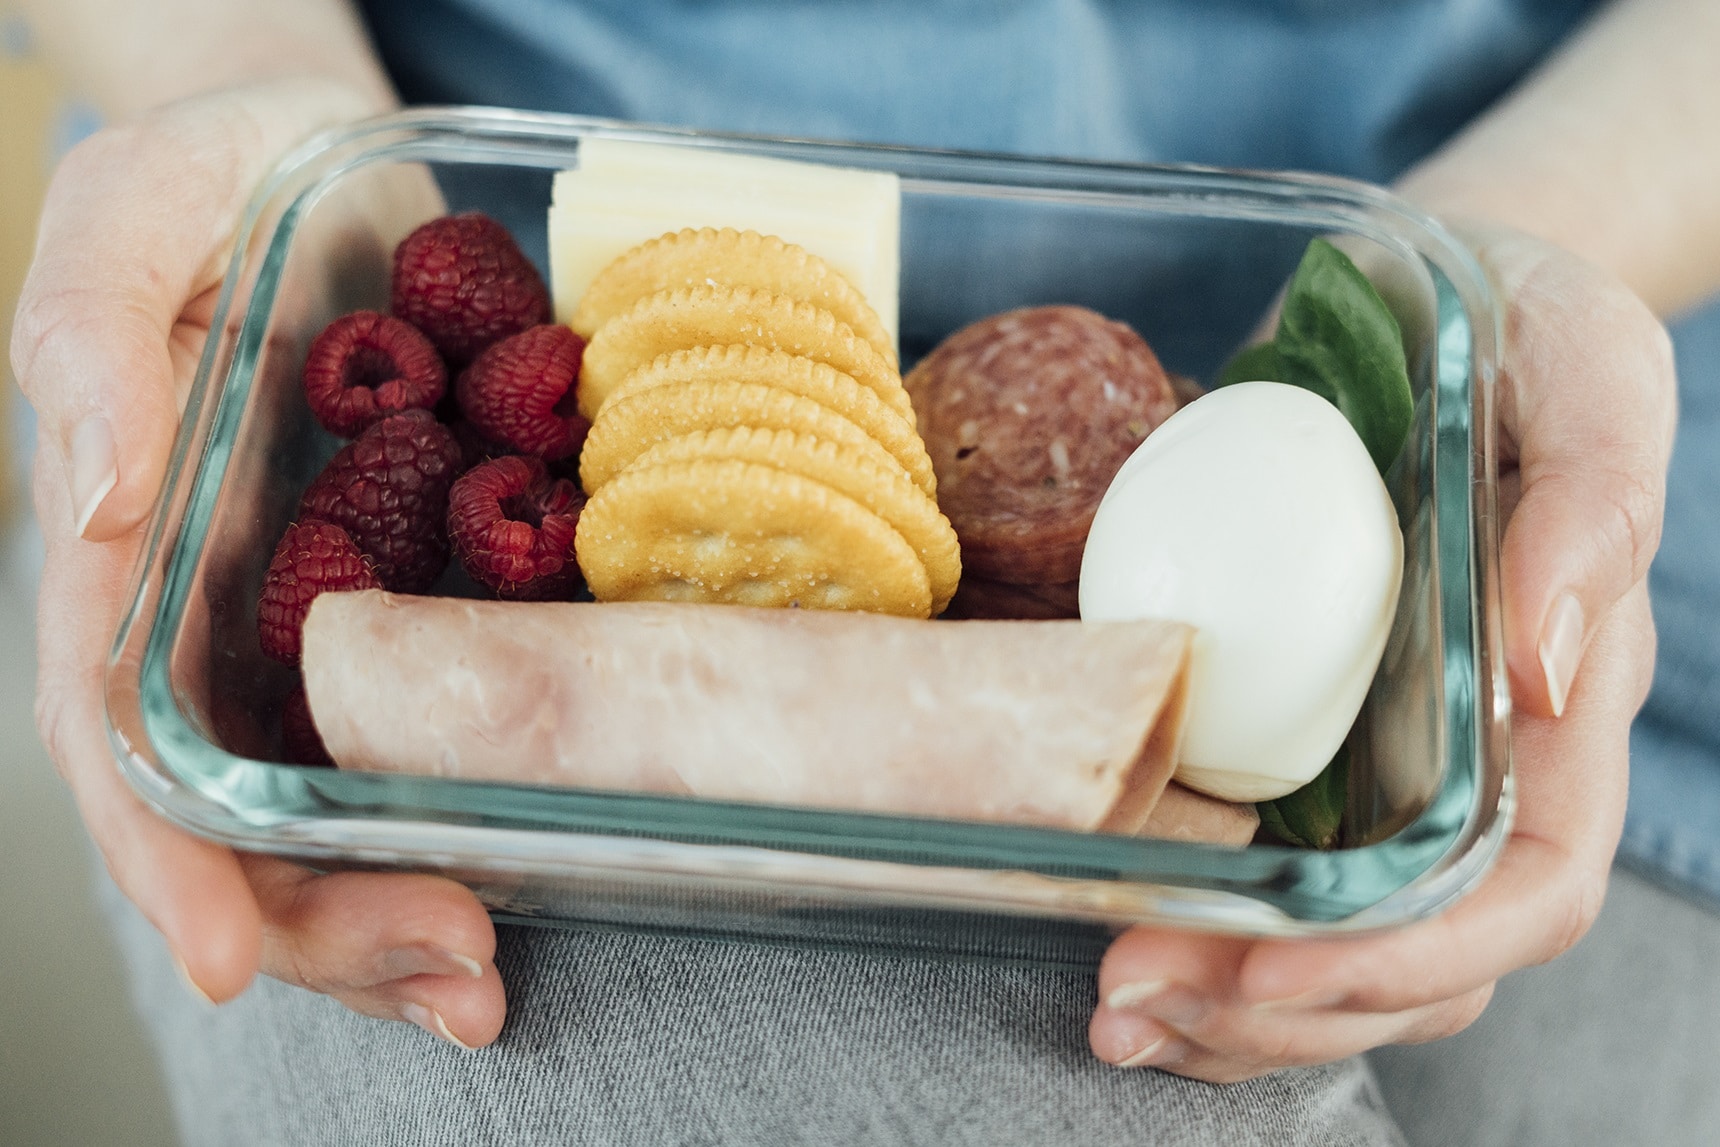
This sort of grown up Lunchables concept is gaining some traction (we’ve seen them in Starbucks, Wawa, etc.). But, we still think making your own is the healthy and frugal way to go — plus you can customize your DIY protein pack with your favorite things! A few slices of good, sharp cheese, a bit of lunch meat or charcuterie, a hard boiled egg, a handful of crackers or baguette slices and some fruit and you’re all set with a balanced, nourishing snack that will help fight the urge to buy a $12 sandwich that you just know will be mediocre at best. Nestle each item up in a glass or plastic container with a tight fitting lid and you’re good to go.
Trail Mix

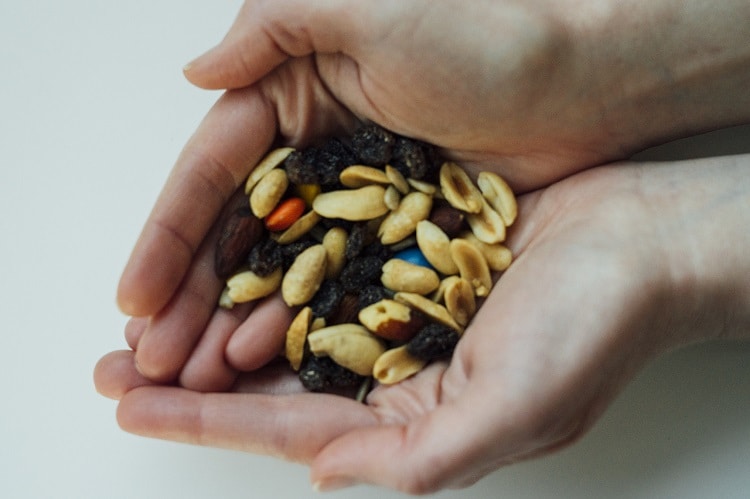
Trail mix is, perhaps, the most quintessential travel snack — it’s got protein for sustenance, sugar for energy and enough salt to keep it nice and snacky. Even its name implies that it’s meant for the road! Sure, you can find some kind of packaged trail mix in every airport and rest stop in America, but making your own is easy, budget-friendly and customizable. Allergic to almonds? No problem. Despise raisins? We feel you. Instead of hoping that there’s one commercial trail mix that might suit your needs, head to your local health food store or co-op, find its bulk section, and stock up on your favorite ingredients for a bespoke trail mix. When it comes to blending, we suggest an equal 50/50 split between sweet and salty components for the perfect balance.
Granola

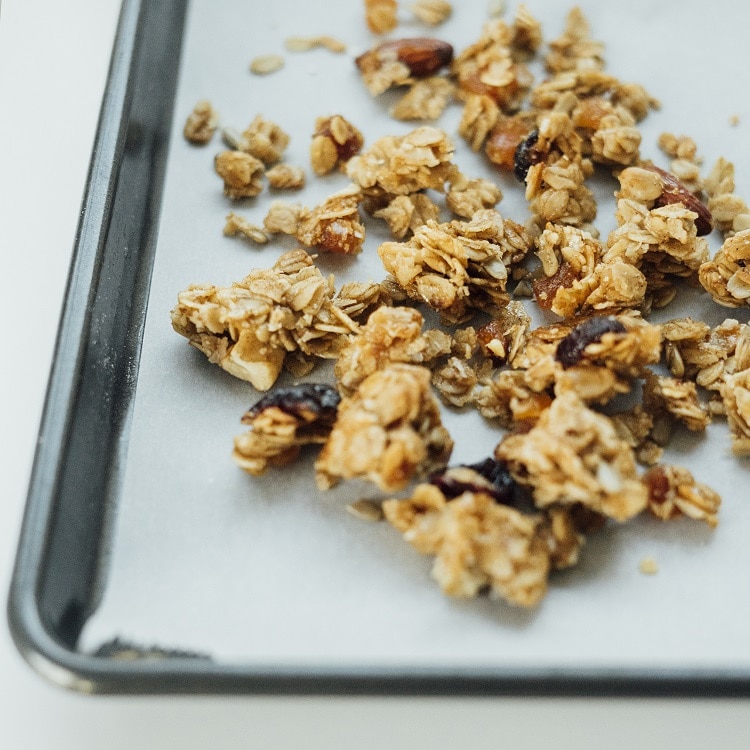
Everything we just said about trail mix essentially goes for granola, too. Plus, commercial brands of granola are so often loaded with sugar and preservatives, both of which you’re better off without! There are zillions of granola recipes out there, but we most often rely on this simple equation: 3 cups of rolled oats (not “quick” or instant oats) + 1/2 cup oil + 1/3 cup sweetener + 1 or 2 cups of add-ins* + a dash of salt. Bake at 300°F for 50–60 minutes on a parchment paper-lined sheet pan and that’s it! *Note: If you like dried fruit or chocolate in your granola, those get mixed in after baking.
No-Bake Energy Bites

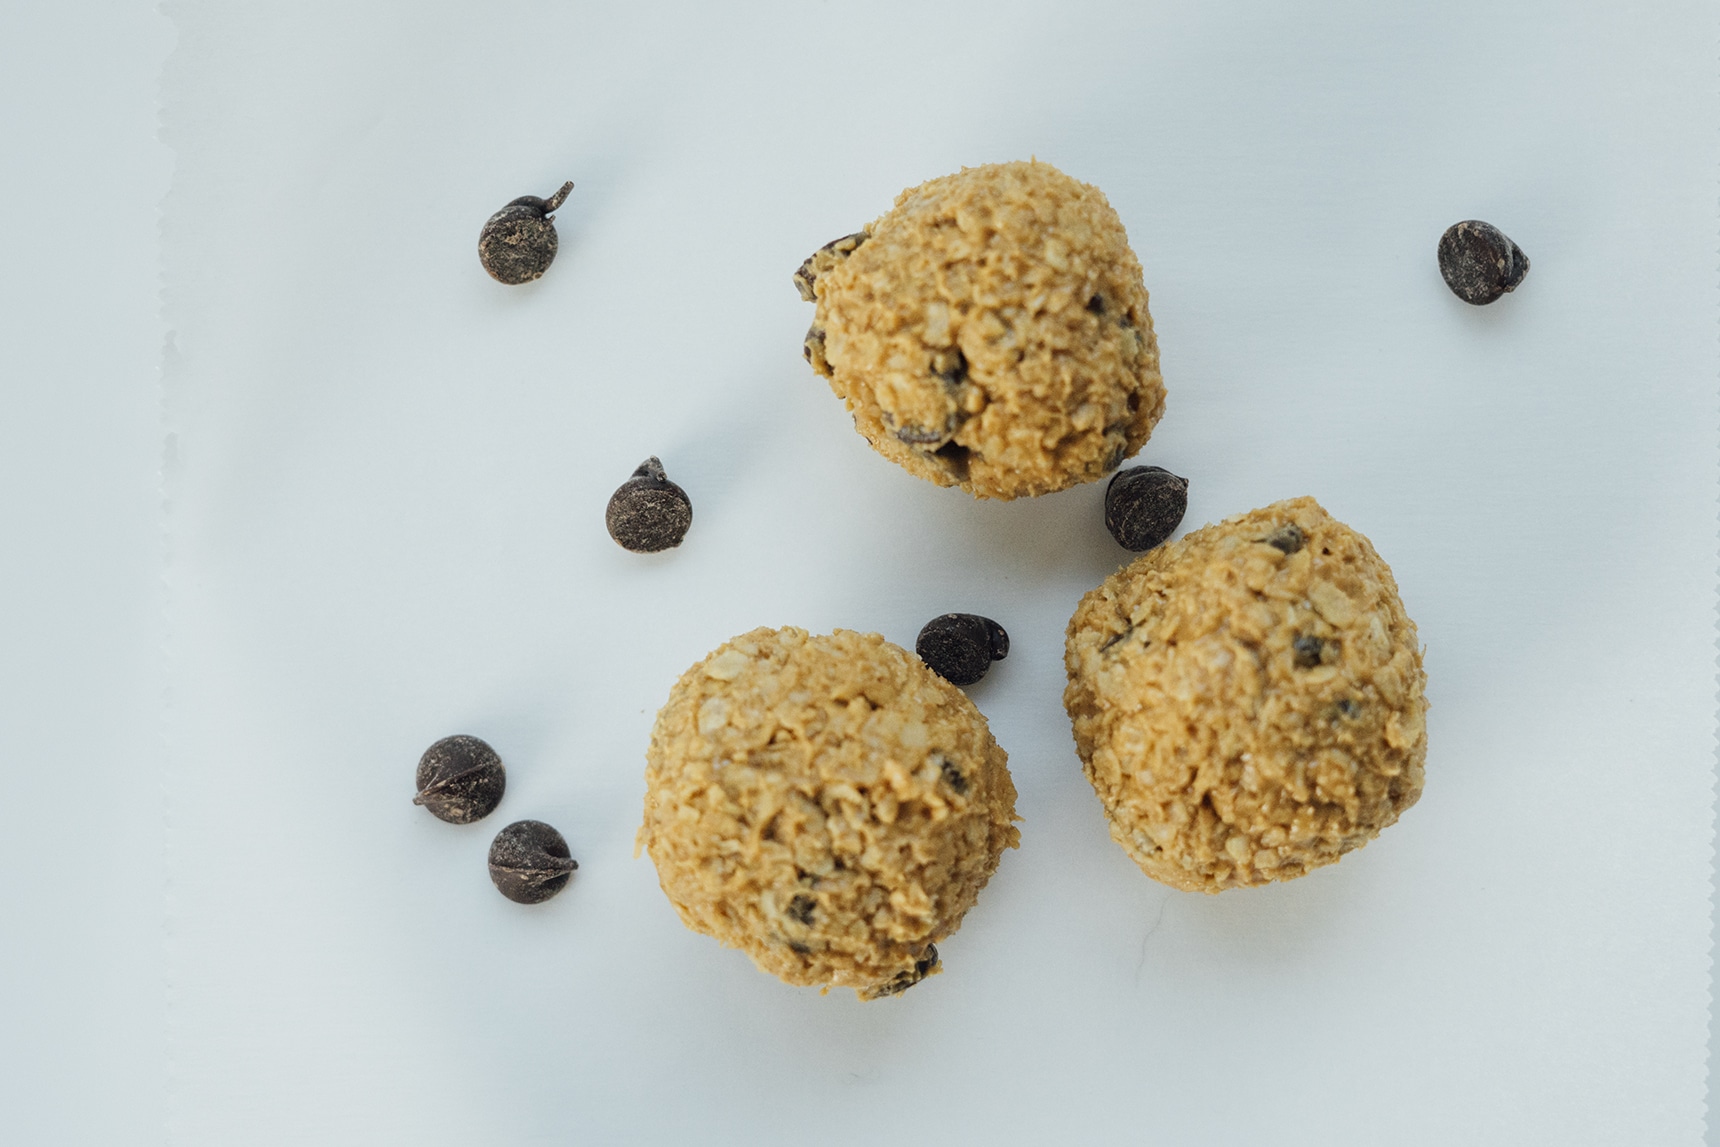
When the sugar craving comes a-calling (and it will), be prepared with homemade energy bites! Much like trail mix and granola, these combine sweet and salty ingredients with a big dose of protein, to help keep you full and resist frozen yogurt, gigantic cookies, gummy candies and all the other airport temptations. You can make these with whatever ingredients you’ve got on hand, or pick up what you need to make your preferred flavor combo. We like peanut butter rolled up with dry oats, semisweet chocolate chips and flaky sea salt, which are almost like eating raw cookie dough. As the name implies, you don’t need to bake these, though if you’re going to be carrying them around for awhile, it’s not a bad idea to refrigerate or freeze them before packing them up.
What are your go-to travel snacks? We hope these ideas provide some inspiration to eat well during your next big trip (and save some money for souvenirs or drinks at the airport bar!).
- Feature photo: Pexels
- All other photos: Jenny Pakradooni for Dish Works


